In Part 01, Mark “ScaleMaster” Jones showed us how to prep standard Hot Wheels cars for customization. In this installment he transforms diecast Datsun 510 and 240Z into highly detailed custom BRE racers. — Ricky
In Part 01 we disassembled stripped, cleaned, and primed a Hot Wheels Datsun 240Z and two 510s. Now we’ll paint those blank canvases to create 1:64 scale version of some the BRE 240Z and 510, as well as Peter Brock’s personal “Brockbuster” 510.
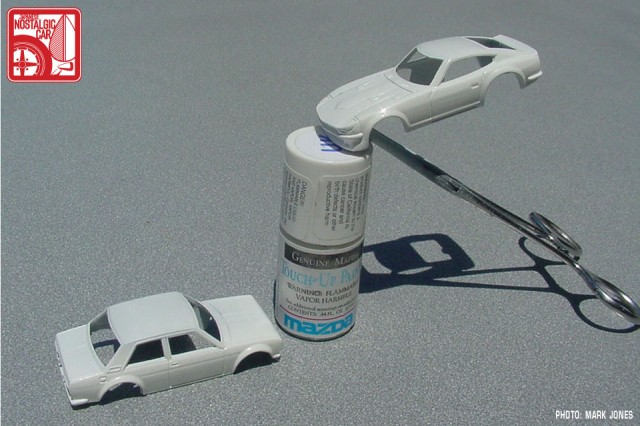
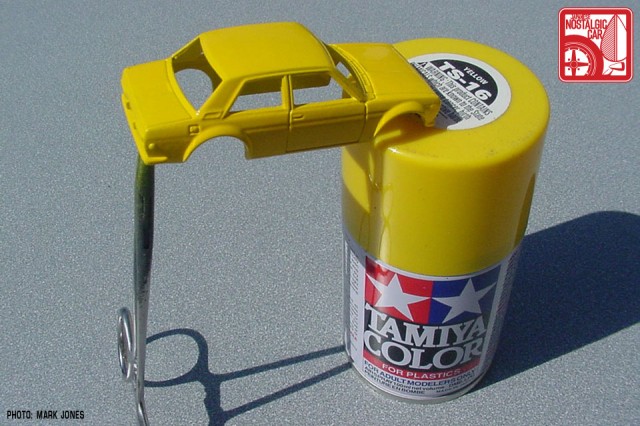
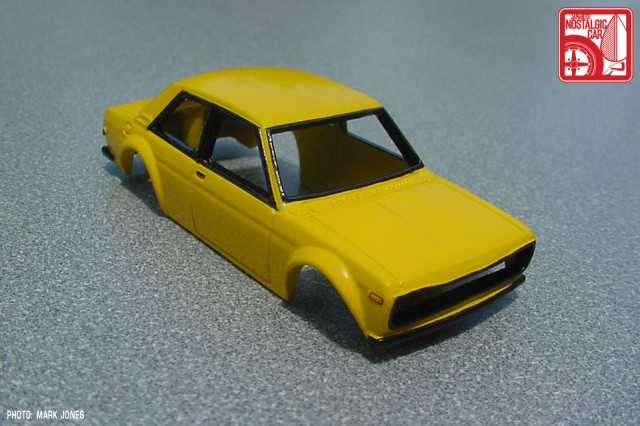
We left off with a pair of bodies in white, which will form the basis of the cars to don BRE livery. The BrockBuster 510 will be, like Pete’s real car, yellow, so while these two dried I went about painting the remaining 510 body.
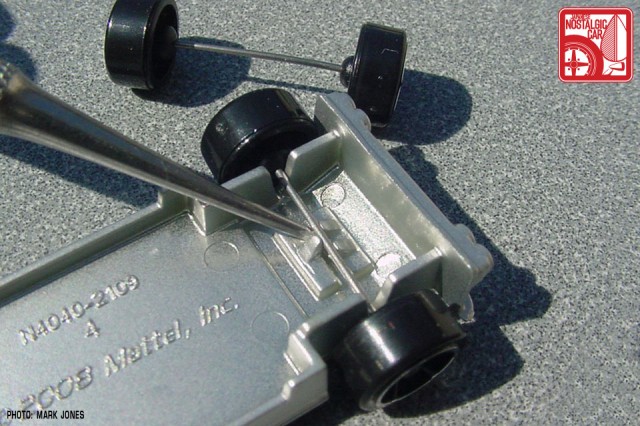
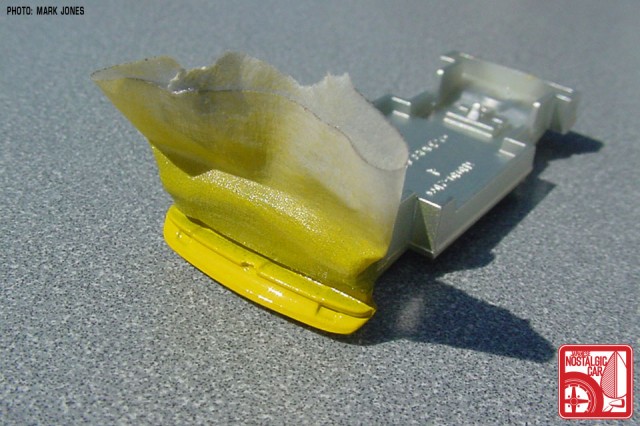
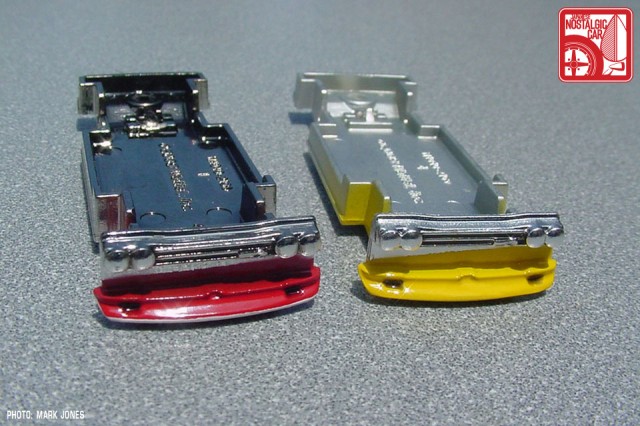
Since the front spook on the BrockBuster will be the same color as the body, I removed the wheels from the chassis to protect them from overspray. The same pick tool I used to clean up the 240Z body was used to spread the plastic tangs just enough to free the axles.
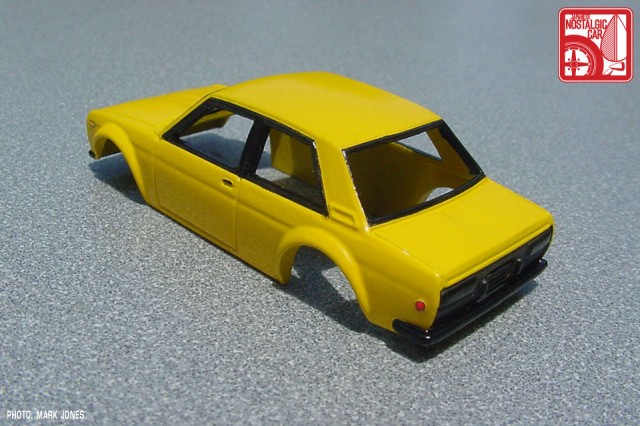
The BrockBuster 510 was painted Tamiya TS-16 Yellow lacquer. It comes only as a spray, but I decanted some to have more control with the airbrush.
The spook was masked and sprayed at the same time. Time to let the paint cure. For the BRE cars, the white needed to be completely dry before masking off to paint the red. Fortunately the paints I used dry and in 24 to 48 hours the warm SoCal summer.
While the bodies were drying, I drew the artwork for the BRE graphics and outputted them as waterslide decals.
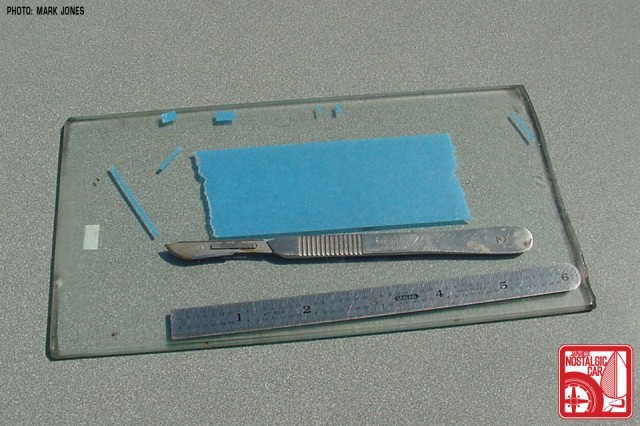
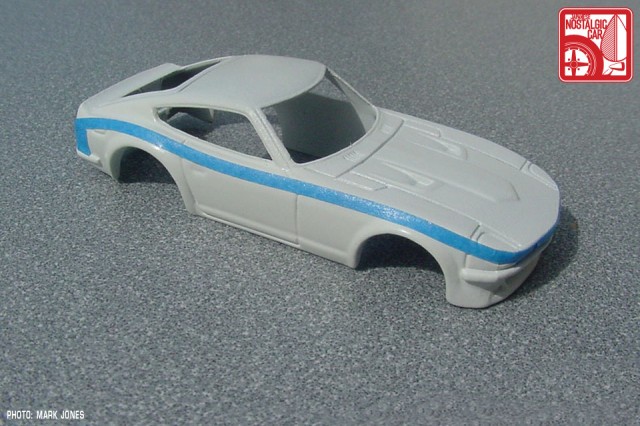
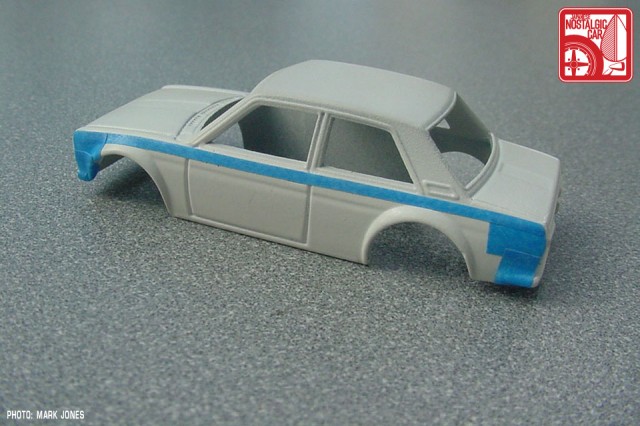
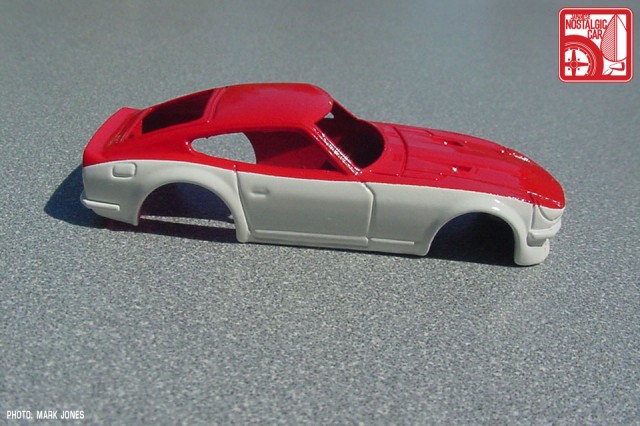
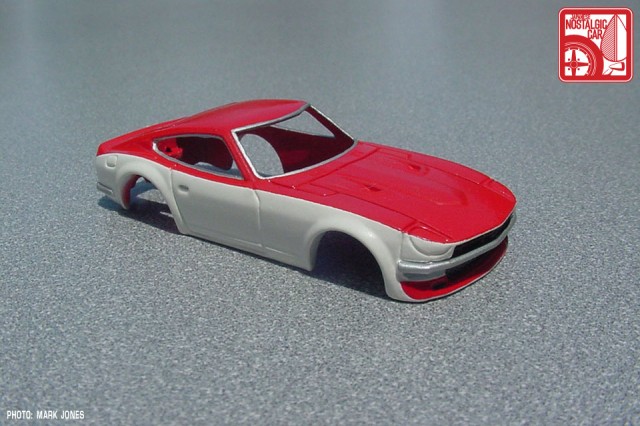
With the two race cars ready for the two tone treatment, I needed to begin masking. First up is the 240Z. I used 3M blue painter’s tape. Thin strips were cut with a sharp knife. I applied a piece of tape to a sheet of glass and cut the strips with a scalpel and a straightedge.
Take your time and try to make it as symmetrical as you can.
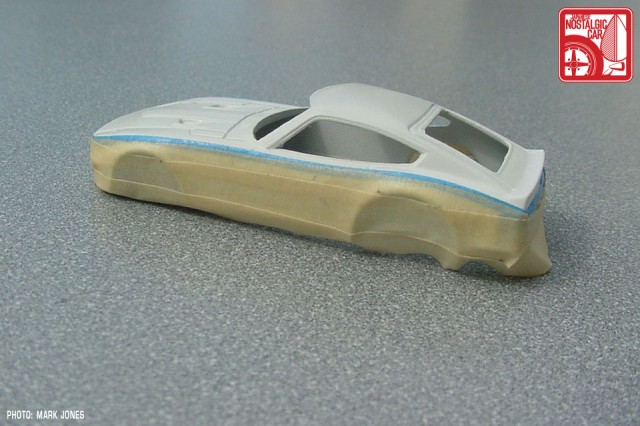
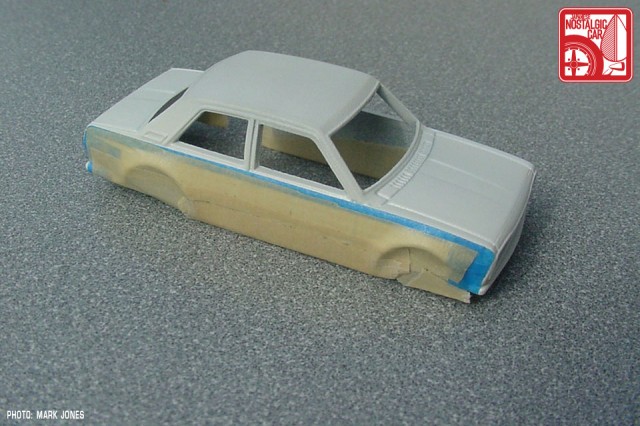
Next, the rest of the white is masked off to protect it from overspray. I used a cheaper but still good quality tape for all the non-edge masking.
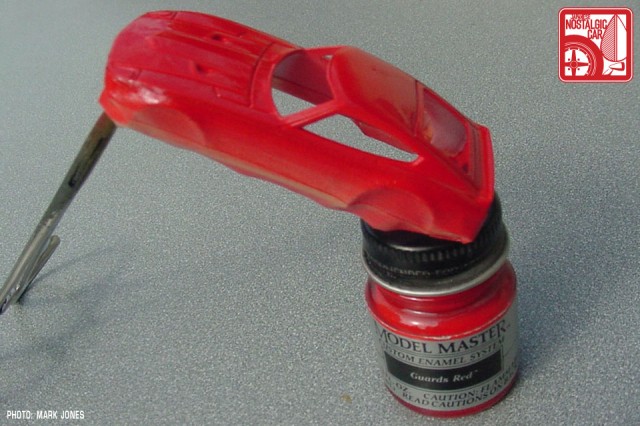
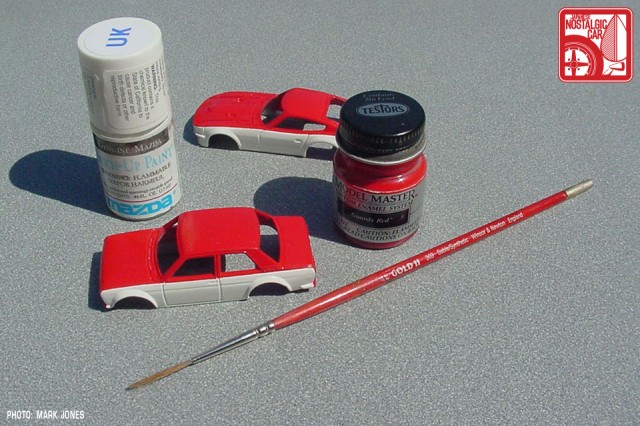
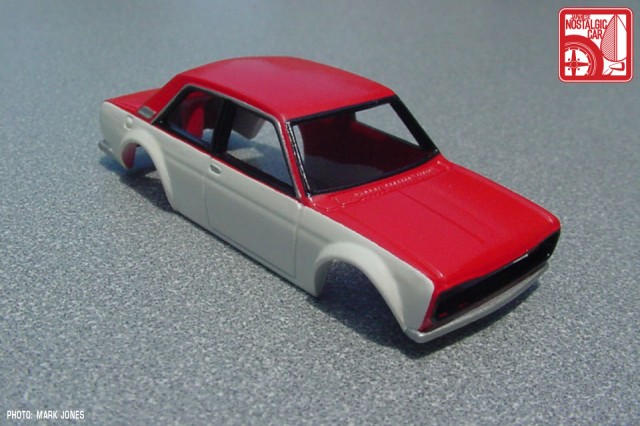
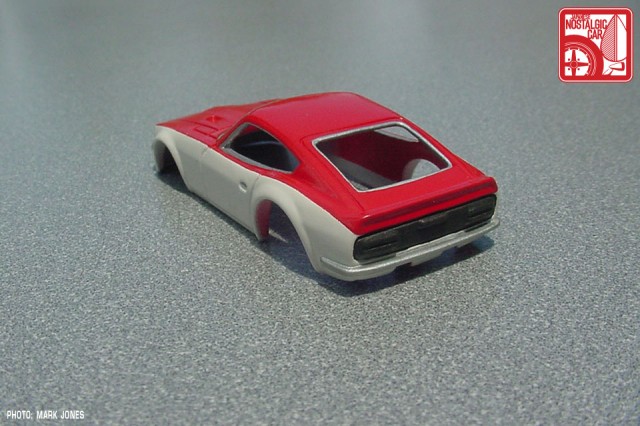
As soon as the 240Z body was masked off, I applied a light coat of Testors Guards Red by airbrush. While that coat of paint was drying, I masked off the 510.
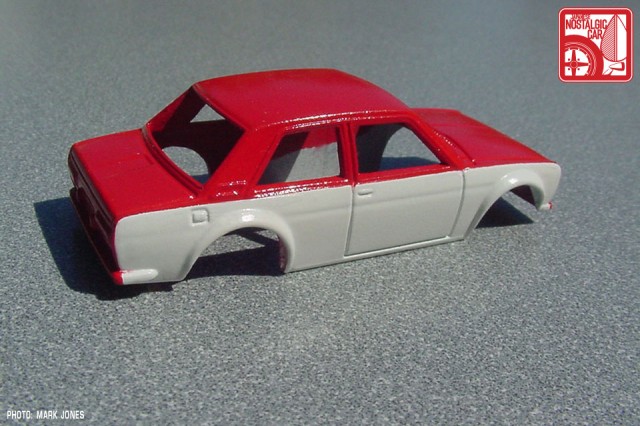
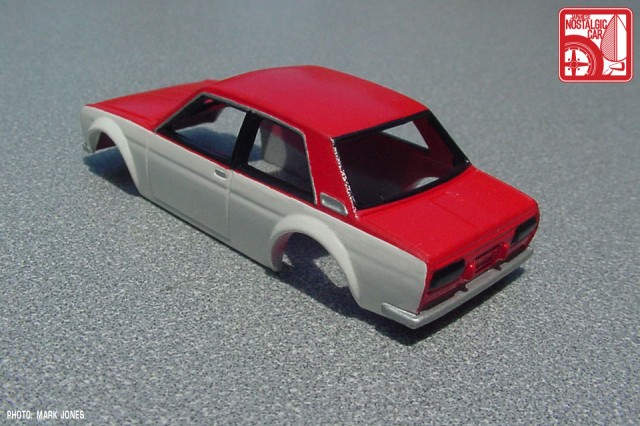
The 510 received the same treatment, but it took a little longer due to the radiuses on the front fenders and the fact that the rear panel is red too.
Extra pieces of tape were cut with scissors to mask off the front and rear side areas.
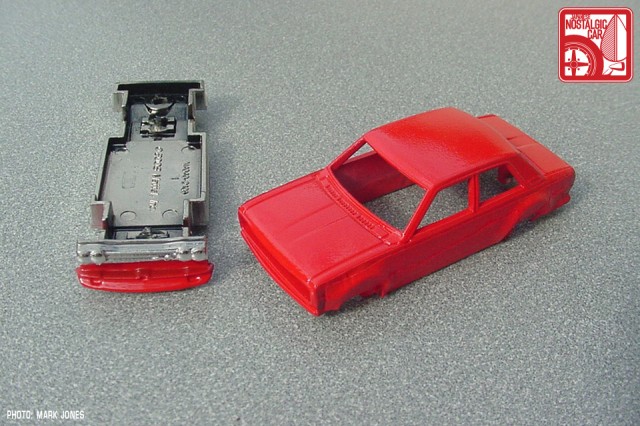
Again, as soon as the masking was completed, I applied a light coat of Guards Red. The second and final coat of red was shot onto the 240Z, as the masking time of the 510 was enough flash time. The front spook that is molded to the chassis was also masked and sprayed at the same time, as was done on the BrockBuster.
Within 5 minutes of the last coat of paint, the Z was carefully unmasked. It has some orange peel, but as it dries it will shrink a bit, and the final clear coat will also smooth it out. Leaving the tape on for too long can lead to the color bleeding under the tape and a possibility of pulling the paint off in sections.
The 510 was given its second coat of paint about 15 minutes after the first.
Both cars had a red little bleed under the tape. Sometimes no matter how careful you are it happens, especially with these smaller cars. Once the red paint dried I just touched up the problem areas by hand using a #0 round sable blend brush.
I hand painted the black trim on the BrockBuster with Testors Black enamel and a sable blend brush. I prefer to paint all the trim and other exterior details I can before applying decals. It makes touching up when required that much easier. I also painted the rear panel gunmetal gray.
At this point in the photos I have already began decaling and have applied the side marker lights.
The side window trim on the BRE 510 was bit more work since it has the silver drip rails. I painted them first with Tamiya X-11 Chrome Silver enamel, then painted the all the black trim with Testors enamel.
The bumpers and other silver details were also painted with the X-11 silver.
The 240Z received all chrome window trim, like the real car, and the same silver paint was freehand brushed on the bumpers as well. The spook was hand-painted red as it was easier to do so than mask and spray it.
The white lower edge was added by brush after the red had dried. Testors enamel gray was used for the front turn indicator block offs. Gunmetal again was used on the rear panel.
The grilles and spooks for the 510s were also painted. A black wash was used on the grilles, a white edge was added to the BRE’s spook like on the 240Z, and the brake intake ports were shaded in.
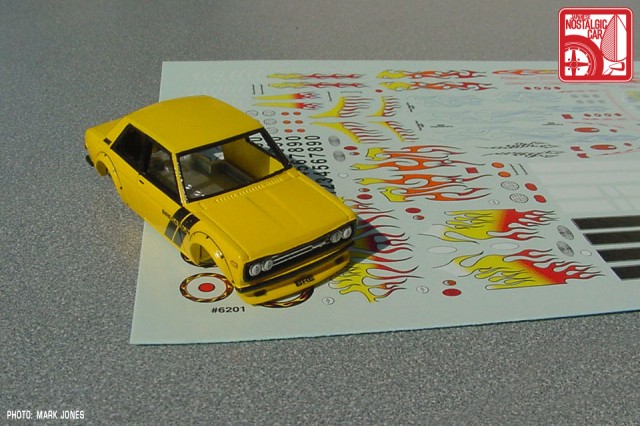
Headlight decals from Scale-Master sheet #6201 were utilized on the BrockBuster.
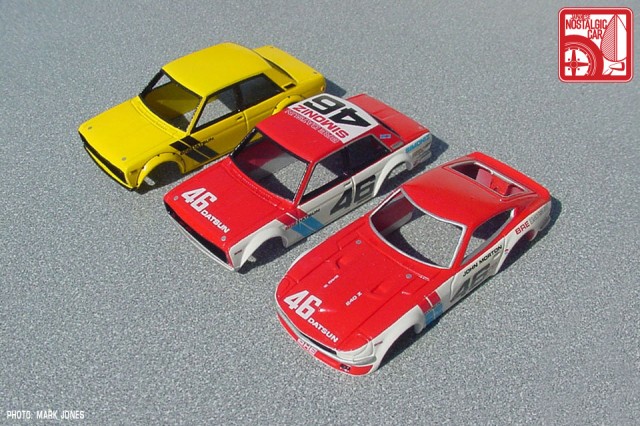
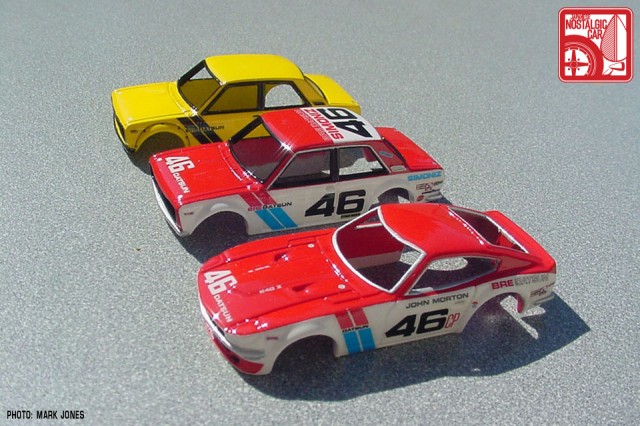
Now that the exterior painting is done, it is time to apply the custom drawn decals. A few hours were spent applying them and they were allowed to dry for about 24 hours. It is important to allow the decals to fully dry before clear coating the bodies. Here they are drying.
For a comparison, here they are a day and a half later with the clear applied. I used Matrix automotive urethane. It is a two part clear intended for real cars, though I add extra reducer to thin it out. It dries to the touch in a few hours, but I let them dry for a couple days to lessen the chances of marring the finish during final assembly.
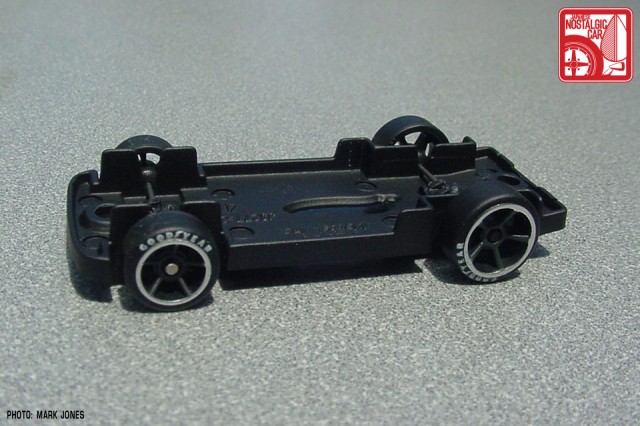
The wheel andaxle assemblies were removed from the chassis of the 240Z the same way they were from the 510s. A donor set consisting of the fronts from another 510 and the rears from a Hot Wheels ’67 Firebird were installed as replacements. Before installation the spokes were painted Tamiya German Gray XF-63 acrylic. Decals were used for the Goodyear tire lettering. The “center caps” or axle ends were painted too. Cadmium Zinc for the fronts (to denote the grease caps), and black for the rears. Once the decals were dry, the wheels were airbrushed with Testors Dullcote flat clear.
The axles were dropped back into place and the plastic tangs were bent into their original positions. If the axle holder tangs break it’s usually not a big deal as most cars are engineered to trap the wheels between the interior or the body and the chassis. You can assemble them “loose” or use a drop of cement on the axle and the chassis. Rubber cement actually works quite well as it provides enough holding power, but also flexes to allow the wheels to “float” a little. Makes it easier to keep all four wheels on the ground too.
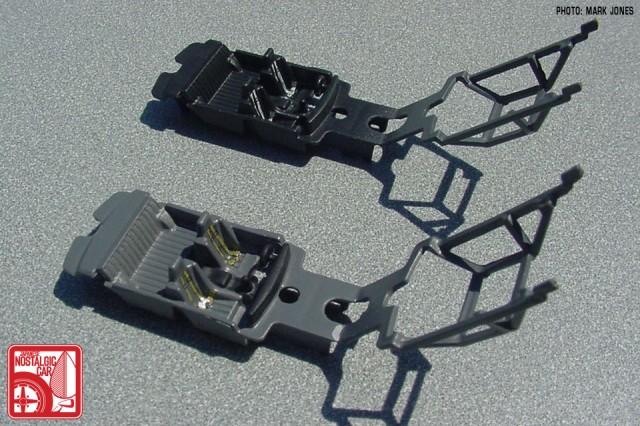
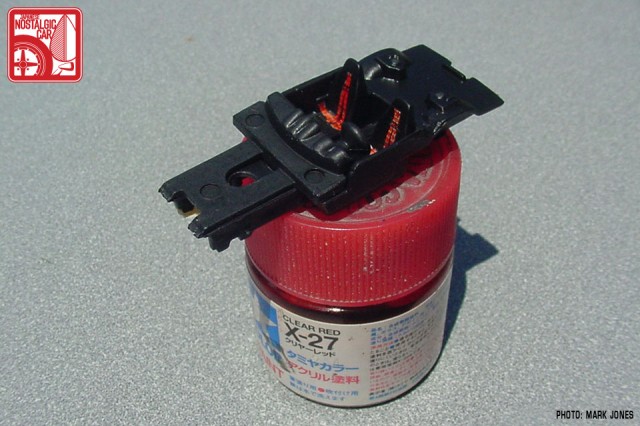
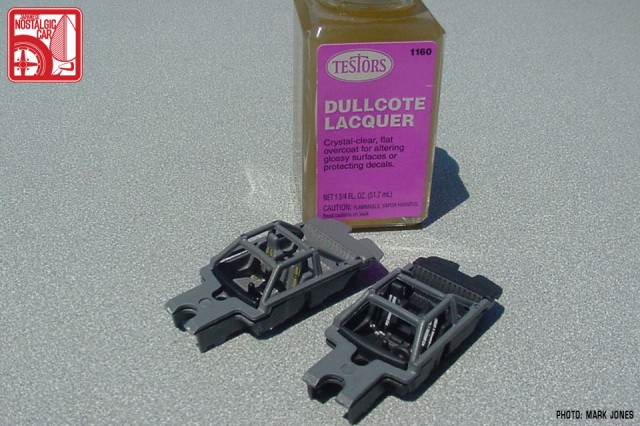
The interiors of the BRE 510 and the 240Z were sprayed with Krylon semi-flat black. The roll cage of the BRE 510 and the entire interior of the BrockBuster were sprayed with Tamiya AS-4 Gray. The dash and console wash brush painted with Tamiya acrylic flat black.
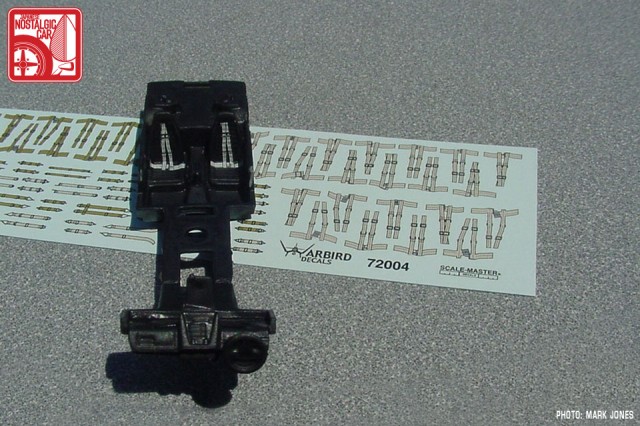
Decals were used for the seat belts on all three cars. While the harnesses can be brush painted when molded in (like on the 510), I found these 1:72 scale aircraft items by Warbird Decals to work very well and easily on 1:64 scale cars. For a little variety I used the olive drab belts in the BrockBuster. Light gray ones were used on the BRE cars.
Once the decals were dry, I brushed Tamiya Transparent Red over the 240Z’s belts to make them red.
All three interiors were airbrushed with Testors Dullcote lacquer to knock the shine down on the decals. Once the clear on the bodies had fully dried, I waxed them. Any wax works well, I used some Tamiya Modeling Wax, though I don’t know if it is still available.
Reassembly is simply a case of putting the windows and interiors into the bodies, then installing the chassis; just reverse the order of disassembly. In many cases the chassis will snap back into the body, and the project is done.
Often they won’t stay together on their own accord, so I usually just secure the chassis with a drop or two of CA glue. (CA is short for cyanoacrylate, i.e. super glue, Krazy Glue, etc). 5 minute epoxy can also be used.
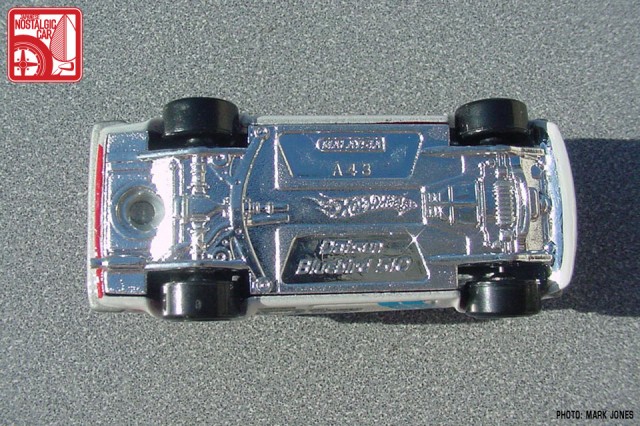
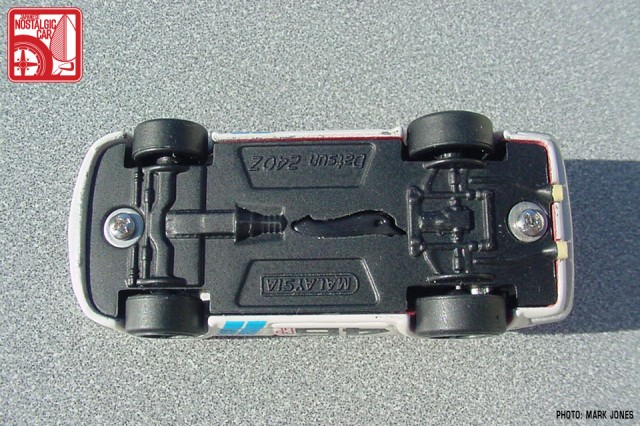
These three cars were reassembled using a different technique. The pilot hole that was used to center the larger sized drill bit to take them apart was threaded with a 2-56 tap. Screws make for a sanitary and professionally finished look as well as allow the cars to be easily taken apart if so desired. Here is the 240Z all buttoned up.
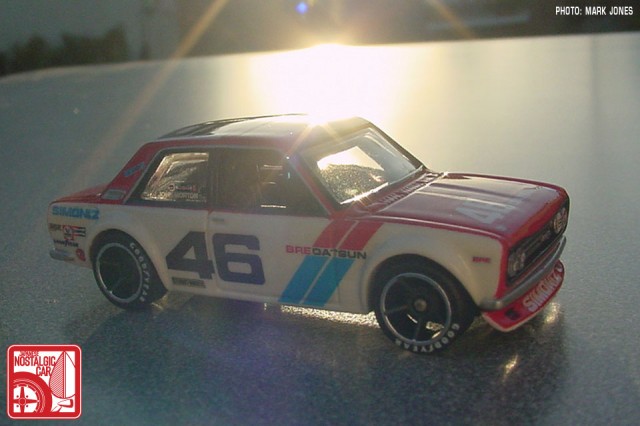
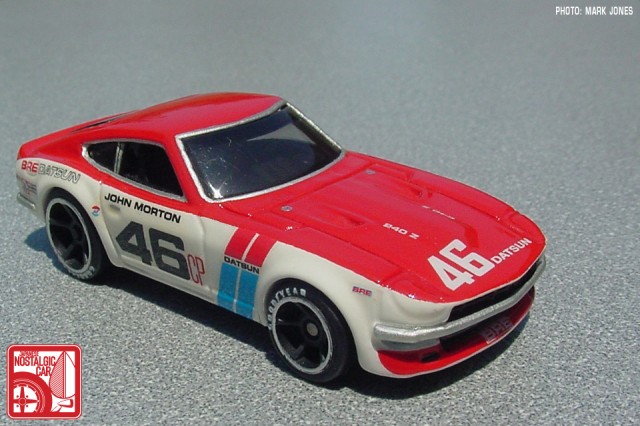
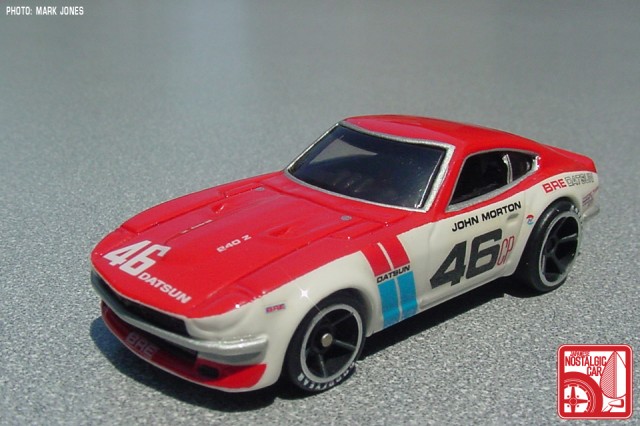
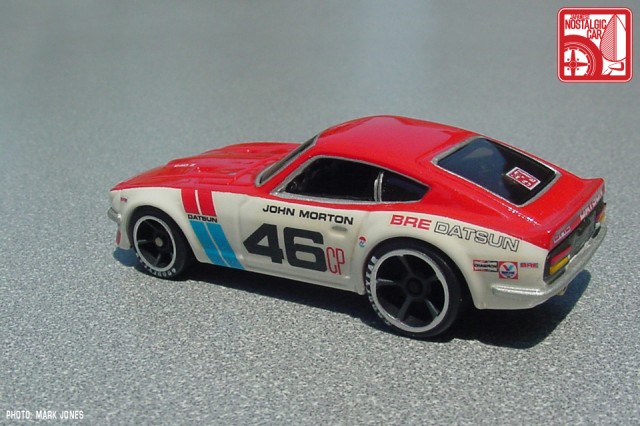
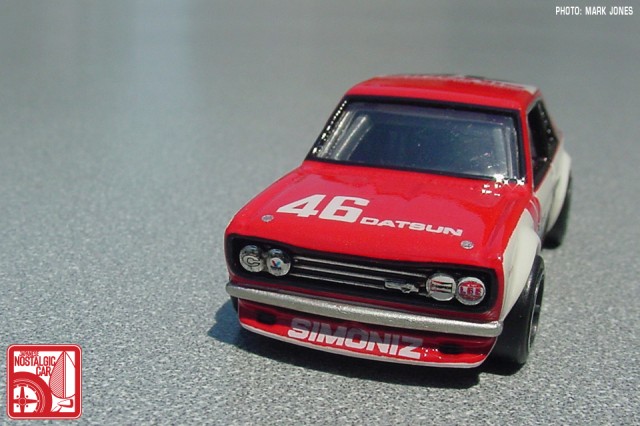
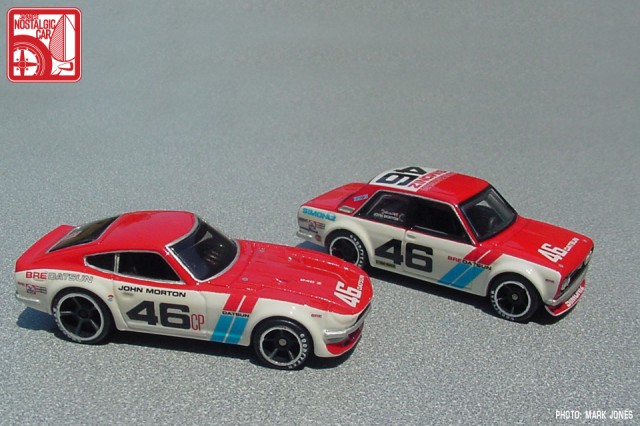
Ready to run. While not an exact copy of the 1:1 scale Datsun 240Z racer, due to the casting being a little tweaked and “Hot Wheeled,” the 240Z does a convincing job of playing the part of a BRE icon.
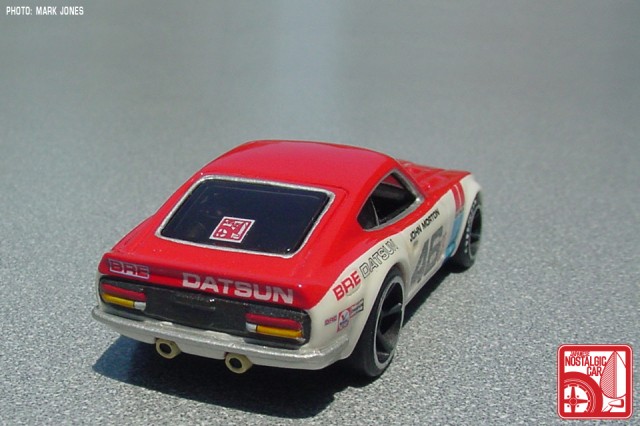
Notice the exhaust tips too. They were painted a light tan to mimic the real car.
The two-tone actually hides some of the less realistic lines on the Hot Wheels casting.
Of course I had to put the JNC inkan in the rear window!
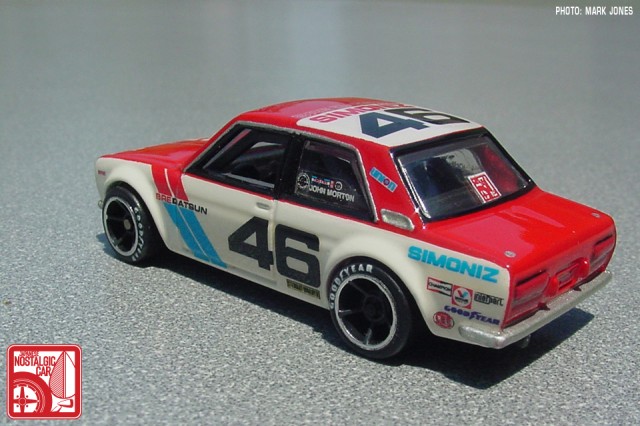
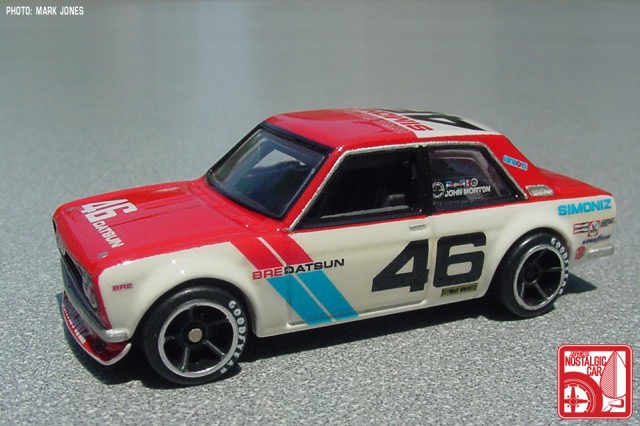
This casting looks a bit closer to the real car used by BRE.
While not 100%, (it is after all “just a toy”) it also does a good job of playing the part.
I try to just focus on the decorations, not get too bogged down with the minor issues the little die-casts may have.
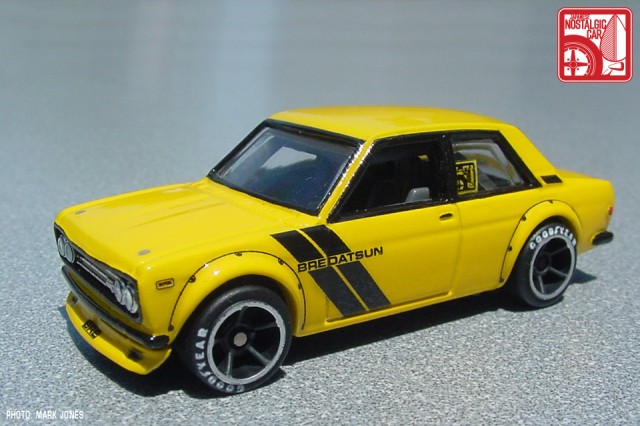
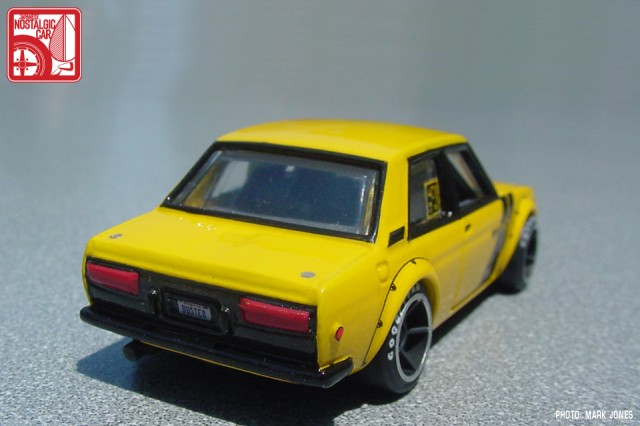
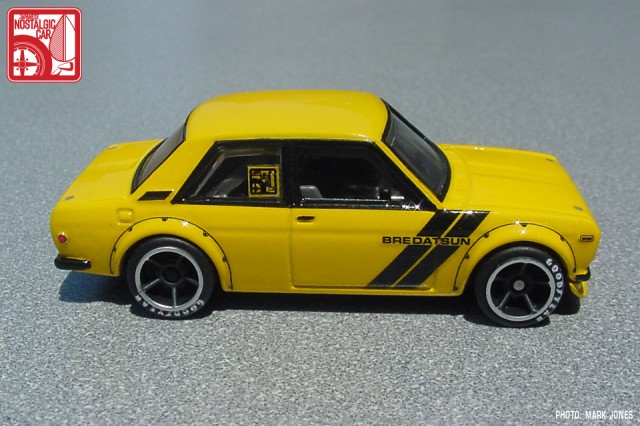
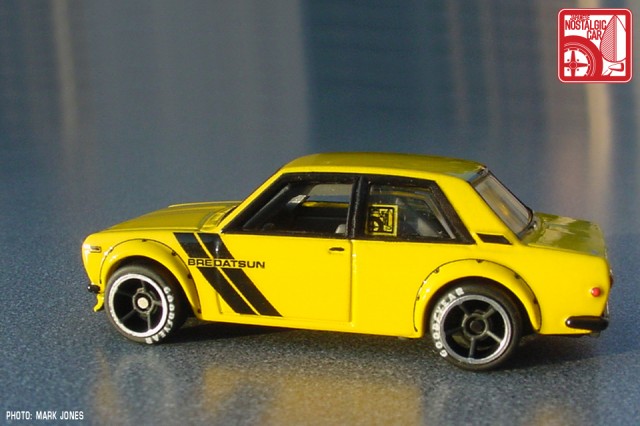
The real BrockBuster 510 didn’t have the black BRE stripes, but the Revell model kit of the car had them as an option.
The real car didn’t have bolt-on fender flares either, but since they were molded onto the casting, I thought I’d give it a little Japanese shakotan flavor.
I added two matching JNC inkan on this version, in black and yellow, one in each rear window.
Nothing like eye searing bright yellow on a bruiser of a little car. What more can I say?
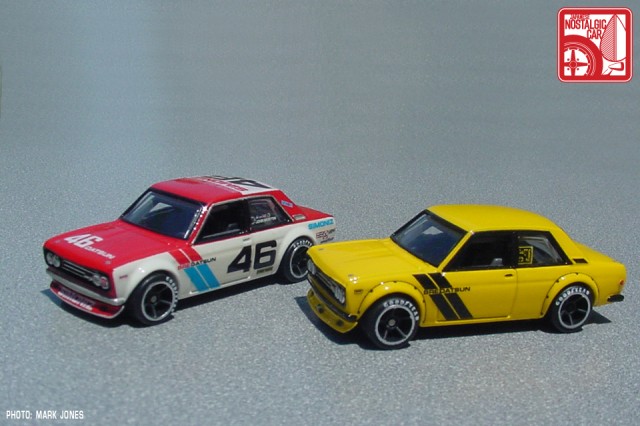
Just another shot of the two 510s together.
Remember, the legendary John Morton who piloted the life-sized versions of these cars will be at the Japanese Classic Car Show on September 15, so be sure to bring your autograph books!
For more of Mark’s stunning customs, check out The Lamley Group.



Pure Art! I want one!
Nice job!
Amazing! I customize my own Hot Wheels as well, but you take it to a new level. Damn I have work to do:)
I have every color I can find of the hotwheels 510s, I would trade all but my bre for that yellow one. Looks amazing, I wish I had the skills to paint one of mine !
Nice, will have to try this.
Great part 2.
Think i might switch out the wheels also.
Just as a reference note, on the original Brockbuster, the panel below the tail lights and above the rear bumper should be yellow also. Only the area between the tail lights should be black. And the real Brockbuster does in fact have fender flares (although molded, not bolt-on), so you’re good there. 😉
What the rear panel is supposed to look like:
https://lh4.googleusercontent.com/-twlGEzEBqJU/Tj9XXBpDryI/AAAAAAAAAIQ/Av_sWUT16k0/s762/IMG_5133.JPG
But you do amazing work. 🙂
Thanks for sharing your talent. I look forward to trying this!
Thank you for the compliment(s)!
While you are correct about the inaccuracies of this reworked toy matching the actual car, please note (as I mentioned at the beginning of the article), this was to be a BrockBuster “inspired” custom, not a replica.
As you can see, the Hot Wheels casting is not a match to the real car either, and my goal was to work within the mass-produced lines of the casting to make a fun project.
Fantastic.
Now that you’ve finished the BRE cars, your next project should be the Bob Sharp/Paul Newman cars!!!
Mark, I’m familiar with all the steps here but there is one thing that has me a bit puzzled: how did you do the white tampos? The letters over the hood, for instance. What kind of paper did you use, or what kind of printer? As far as I know you cannot print white on a normal printer, did you have them specially printed for this car? Any info you can share about it will be greatly appreciated (:
This looks awesome! I don’t have a fraction of the skills that you do, would you ever consider custom building model for some financial compensation?
Cano,
Being an artist in the model and kit decal industry for the last thirty-plus years has provided me with some avenues of producing one-of decals for projects like these that most builders do not have access to. This article did not focus on how to make the decals since the tools and hardware I used are proprietary (and out of the mainstream for most people).
In a future article I plan to discuss how hobbyists can make their own decals in an economical fashion.
John,
I have been known to “build for hire”… 🙂
Ah I see. Yeah, I’ve used the classic waterdecal stuff and all that, but white is still next to impossible to achieve decently, that’s why your decal work immediately popped up. I’d be interested in such an article. Do you have a website, blog or something where I can keep track of your stuff?
I’ll be sharing more work here… I post my work in other modeling oriented forums, but I don’t have a site dedicated to it at this time. Maybe it is time I put something together…?
The micro scale detail that has gone into these goes beyond belief. I myself attempted to do a “powerhouse amuse GT1” inspired bodykitted hot wheels S2000. it came out alright but i just couldn’t get certain details to look right no matter how i tried…
…i would definitely be interested in commissioning you to do a few simple car designs for me, if you ever started doing it haha.
where i can get the decals?? :/ :/ :/
what dimension of screws do you use for reassembly?
There are 2-56 (screw size+threads per inch) screws used on these cars, as stated in the article, but they look like Philips screws (yuck) in the photos.
You can get drill bits and taps in 2-56 at places like micromark.com or mcmaster.com, and a nice supply of #2 washers and 2-56 steel screws at fastener-express.com or mcmaster.com. I would look at 2-56 x .125″ button head alloy steel cap screws in packs of 100 for about $9. You’ll need a .050″ allen drive key, which you can get at any hobby shop that sells RC cars. If you are doing a lot of cars, get yourself a hardened pinion wrench or hex driver in .050″, and you’ll be set for life.
Micromark is a great source for small scale modeling tools, and kind of a candy store. McMaster.com can be devastating to a hobbyist’s bank account, too.
Awesome how I wish to try,sad to say I can’t find decal in our country.
Where do you get the original 510 body
GREAT WORK! Love it! Check mine out too.. http://www.MuncleMikes.com